


Back in January 2016, I was at an antique store in Columbus, MS and I saw a cool little Blackhawk T15 crank speeder in a basket of old wrenches. It was pretty rusty and I liked it, but I passed on it that day. A few months went by, and I kept thinking about it from time to time, so one day I went back to see if it was still there. Happily, it was, so $5 later – and 90 years and 5 days after its patent date of Feb 23, 1926 – I brought it home with me.
These pics are after I ran it through an electrolysis bath to get some of the surface rust off, followed by a nylon pad scrub.
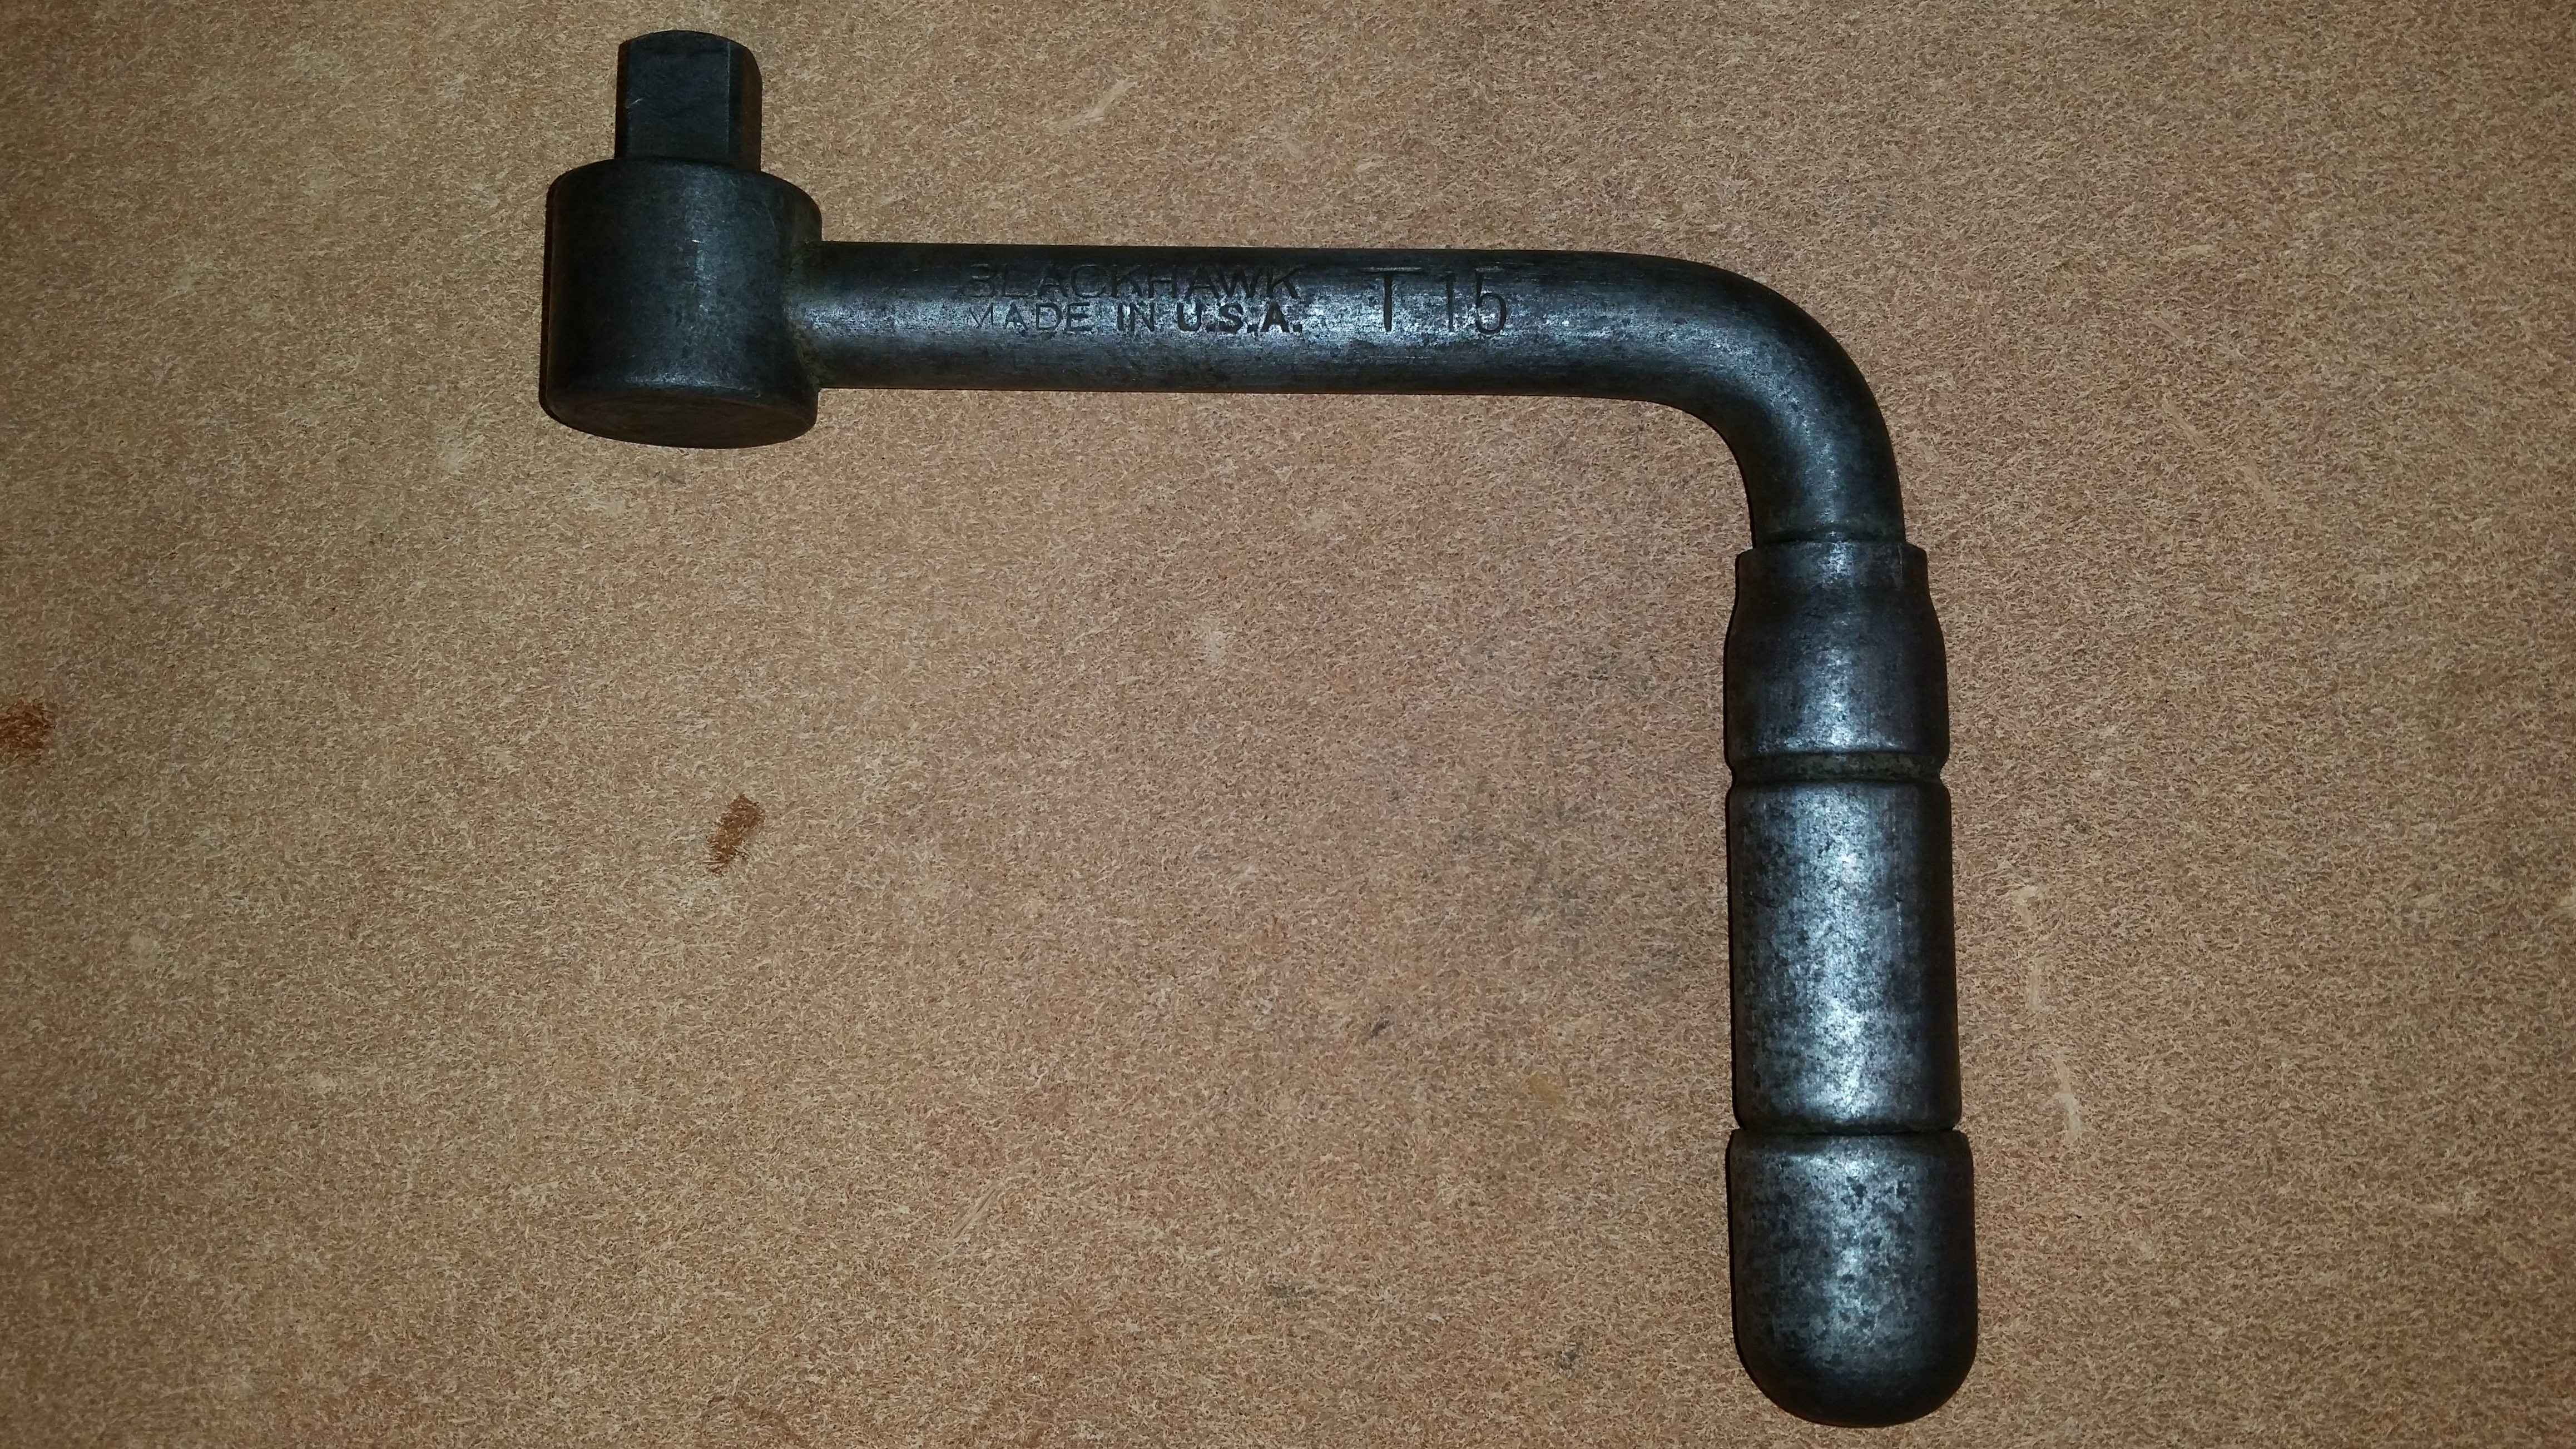
Blackhawk T15 1/2″ drive Crank Speeder Handle
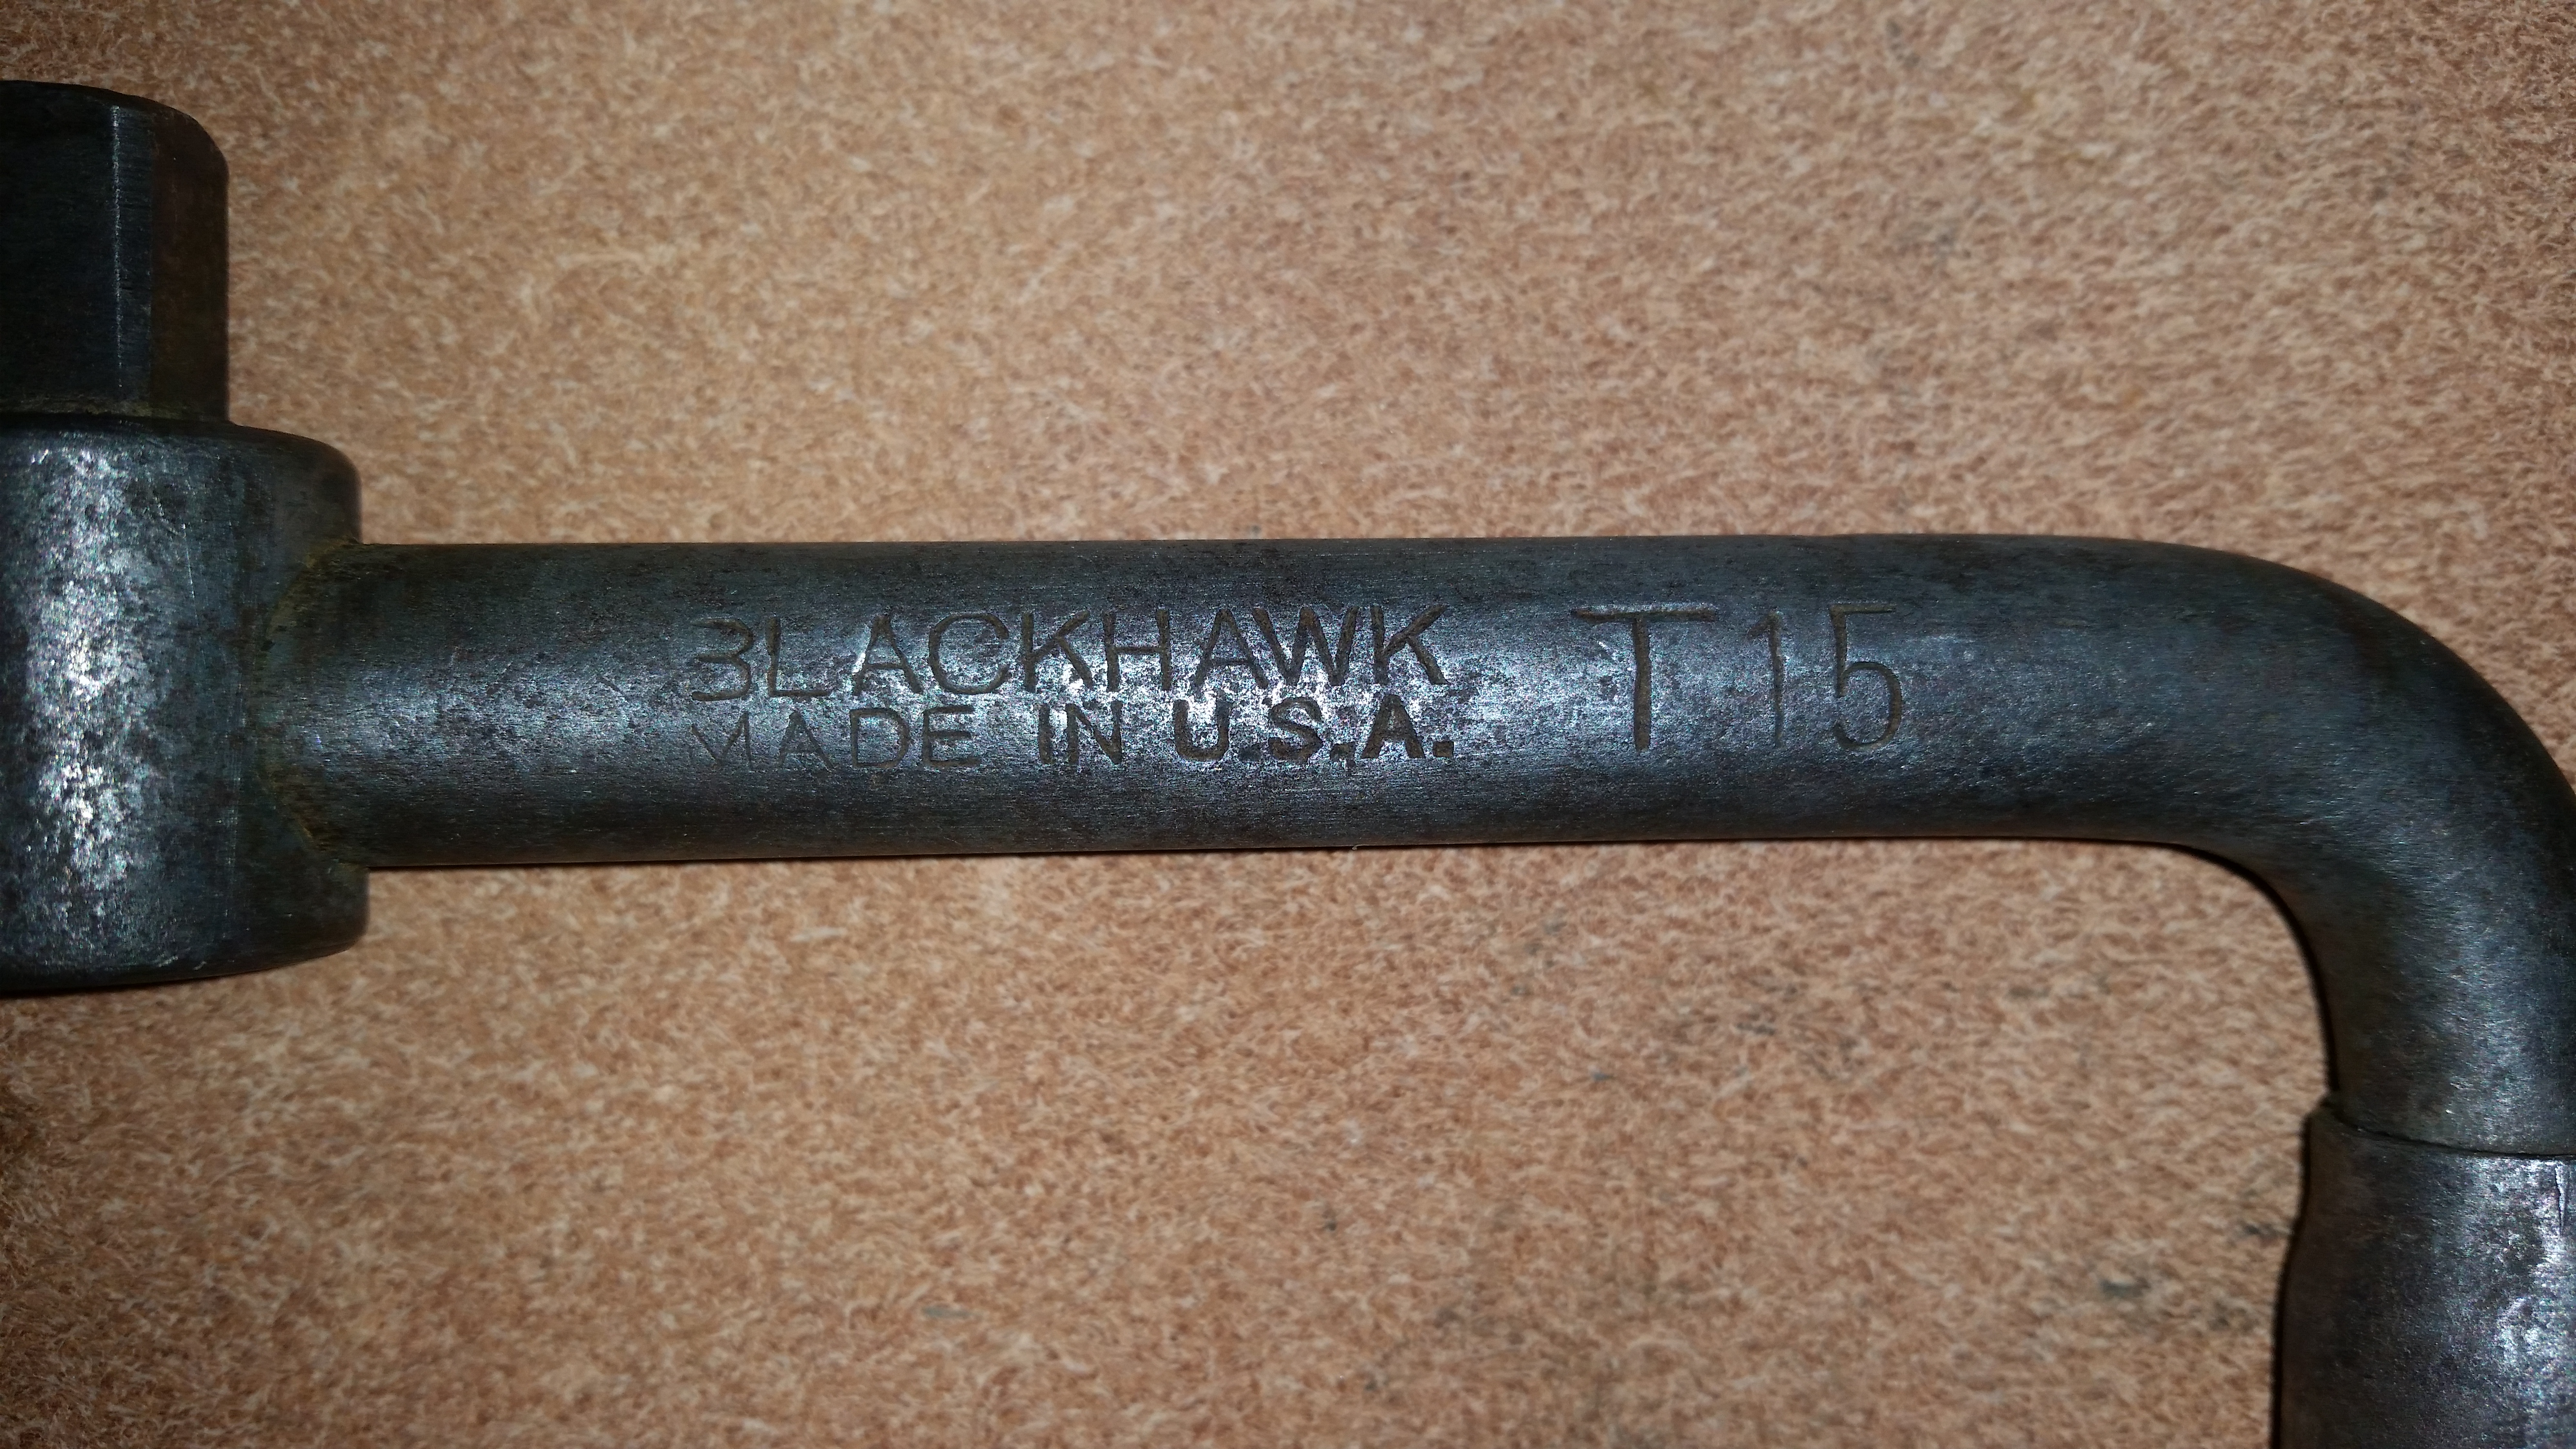
BLACKHAWK / MADE IN U.S.A. / T15
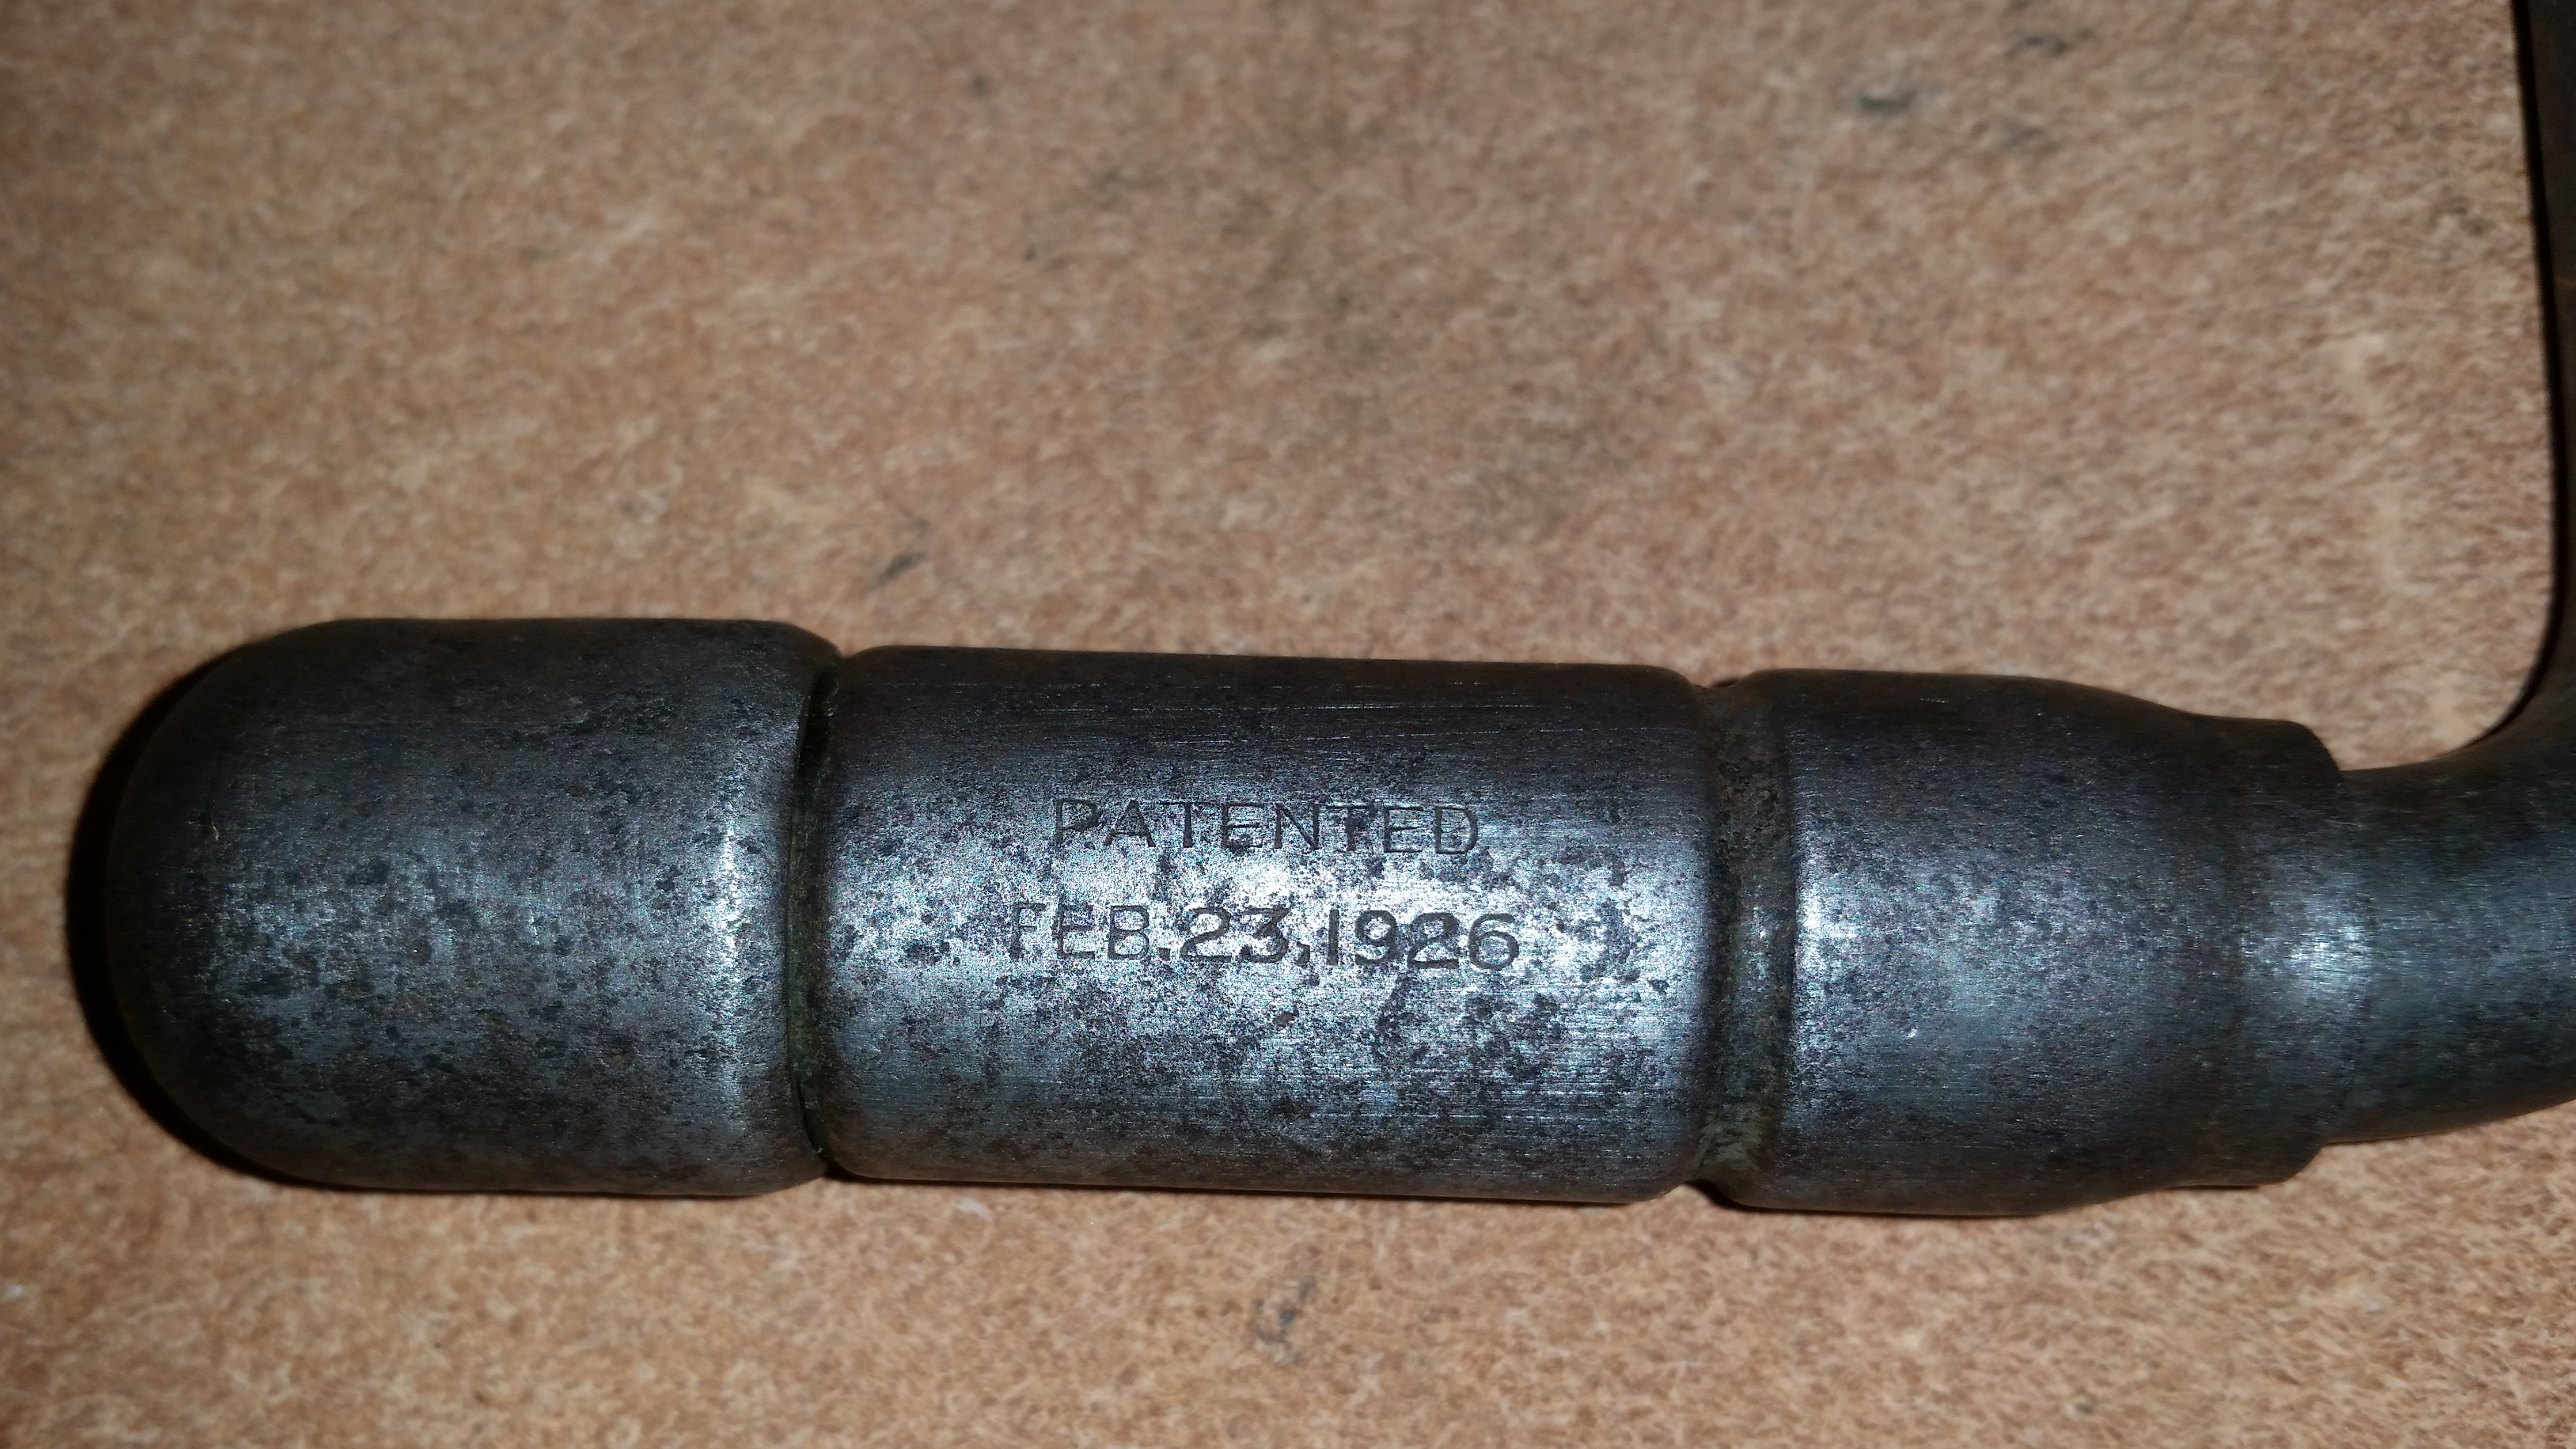
PATENTED / FEB 23, 1926
These useful little handles were made by Blackhawk in the late 1920s.

1928 Janney Semple Hill & Co advertisement
The original 1928 price of $1.00 equates to a 2017 cost of $13.64, so these were not terribly expensive – roughly the cost of a modern consumer-grade ratchet. I imagine a speeder handle like this would cost more than $13 if you bought it today.
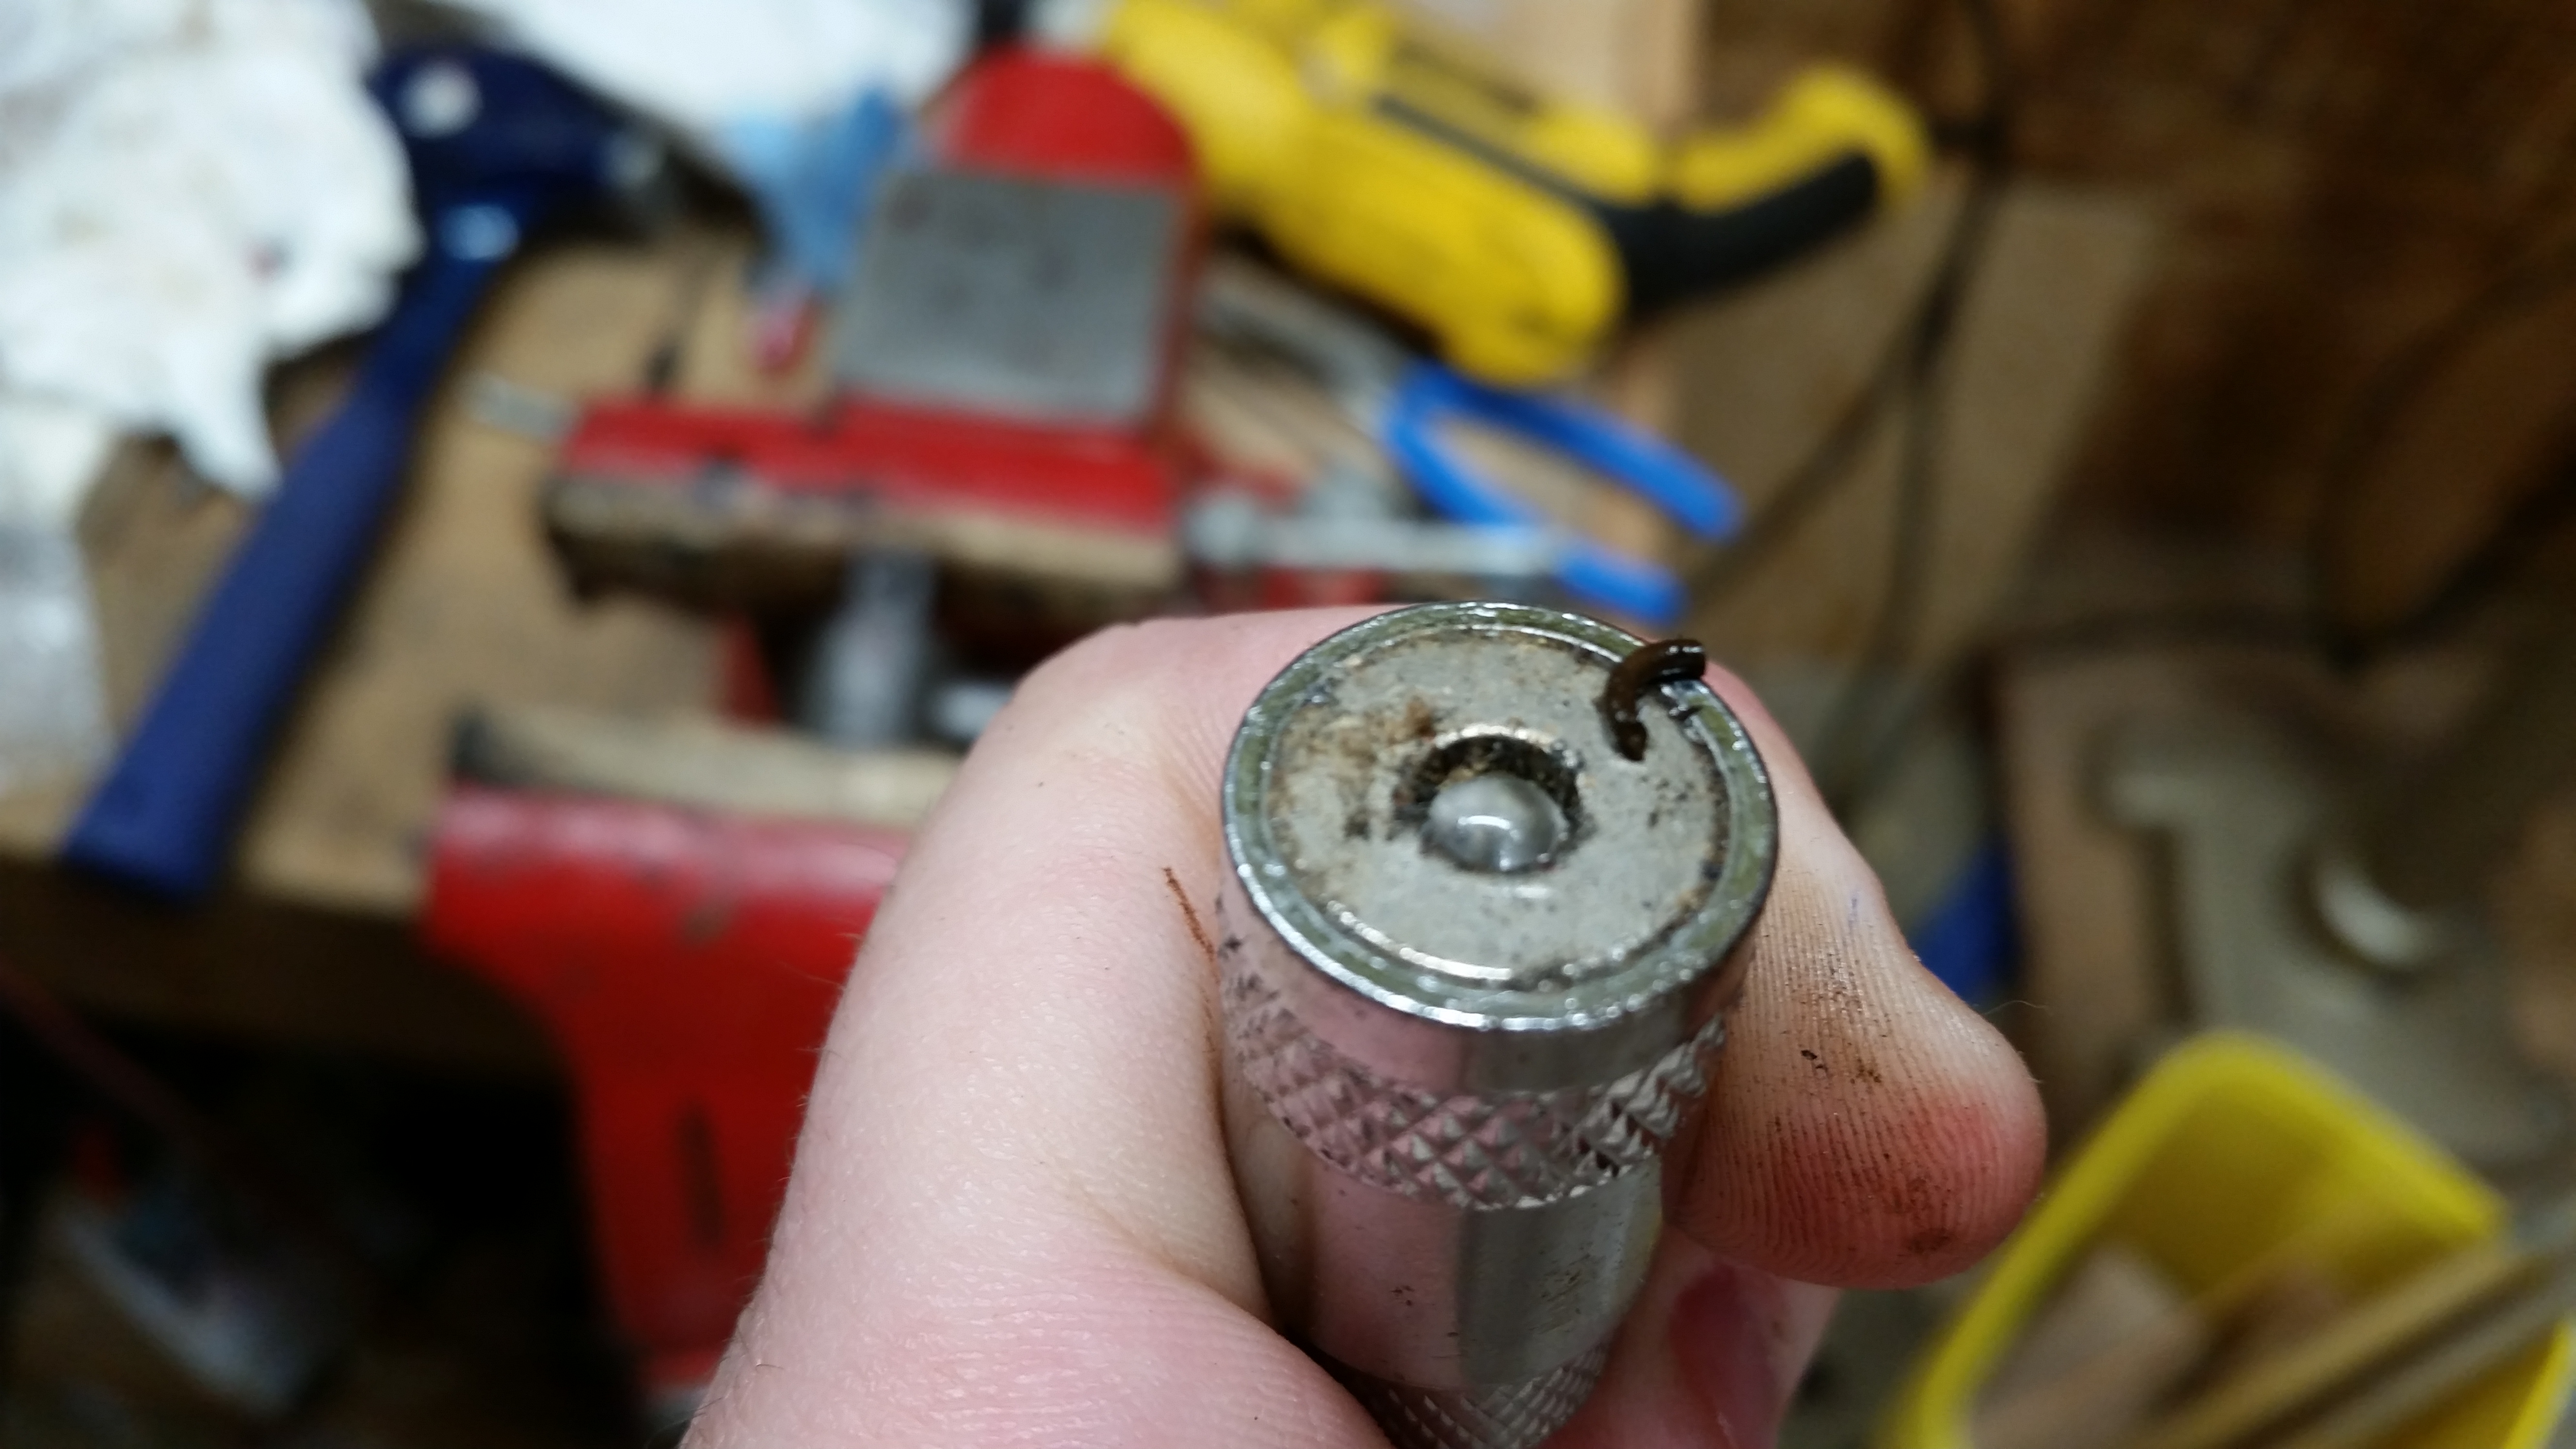
Unfortunately, after I derusted it, I discovered that the ball detent (the little ball in the head that holds sockets on the end) was non-functional. After some investigation, I concluded that the spring that was behind the ball was broken. When the handle was manufactured, the head was drilled to receive a spring and a steel ball. The spring was dropped in, followed by the ball, and the hole was swaged shut to retain the ball. The spring pressure pushed the ball outward, where it could fit in a detent in a socket, retaining the socket. When the socket was pulled off, the ball depressed the spring, lowering the ball in the hole, and allowing the socket to come loose.
This was intended to be a no-maintenance part, since the swaged hole could not be re-opened once the spring and ball were closed in. Over the decades, the spring had either rusted apart or broken from stress. Either way, the ball could be pushed down, but the spring wasn’t pushing it back out. The result was that sockets would just fall off the drive head when turned downward. The tool, therefore, was more or less unusable.
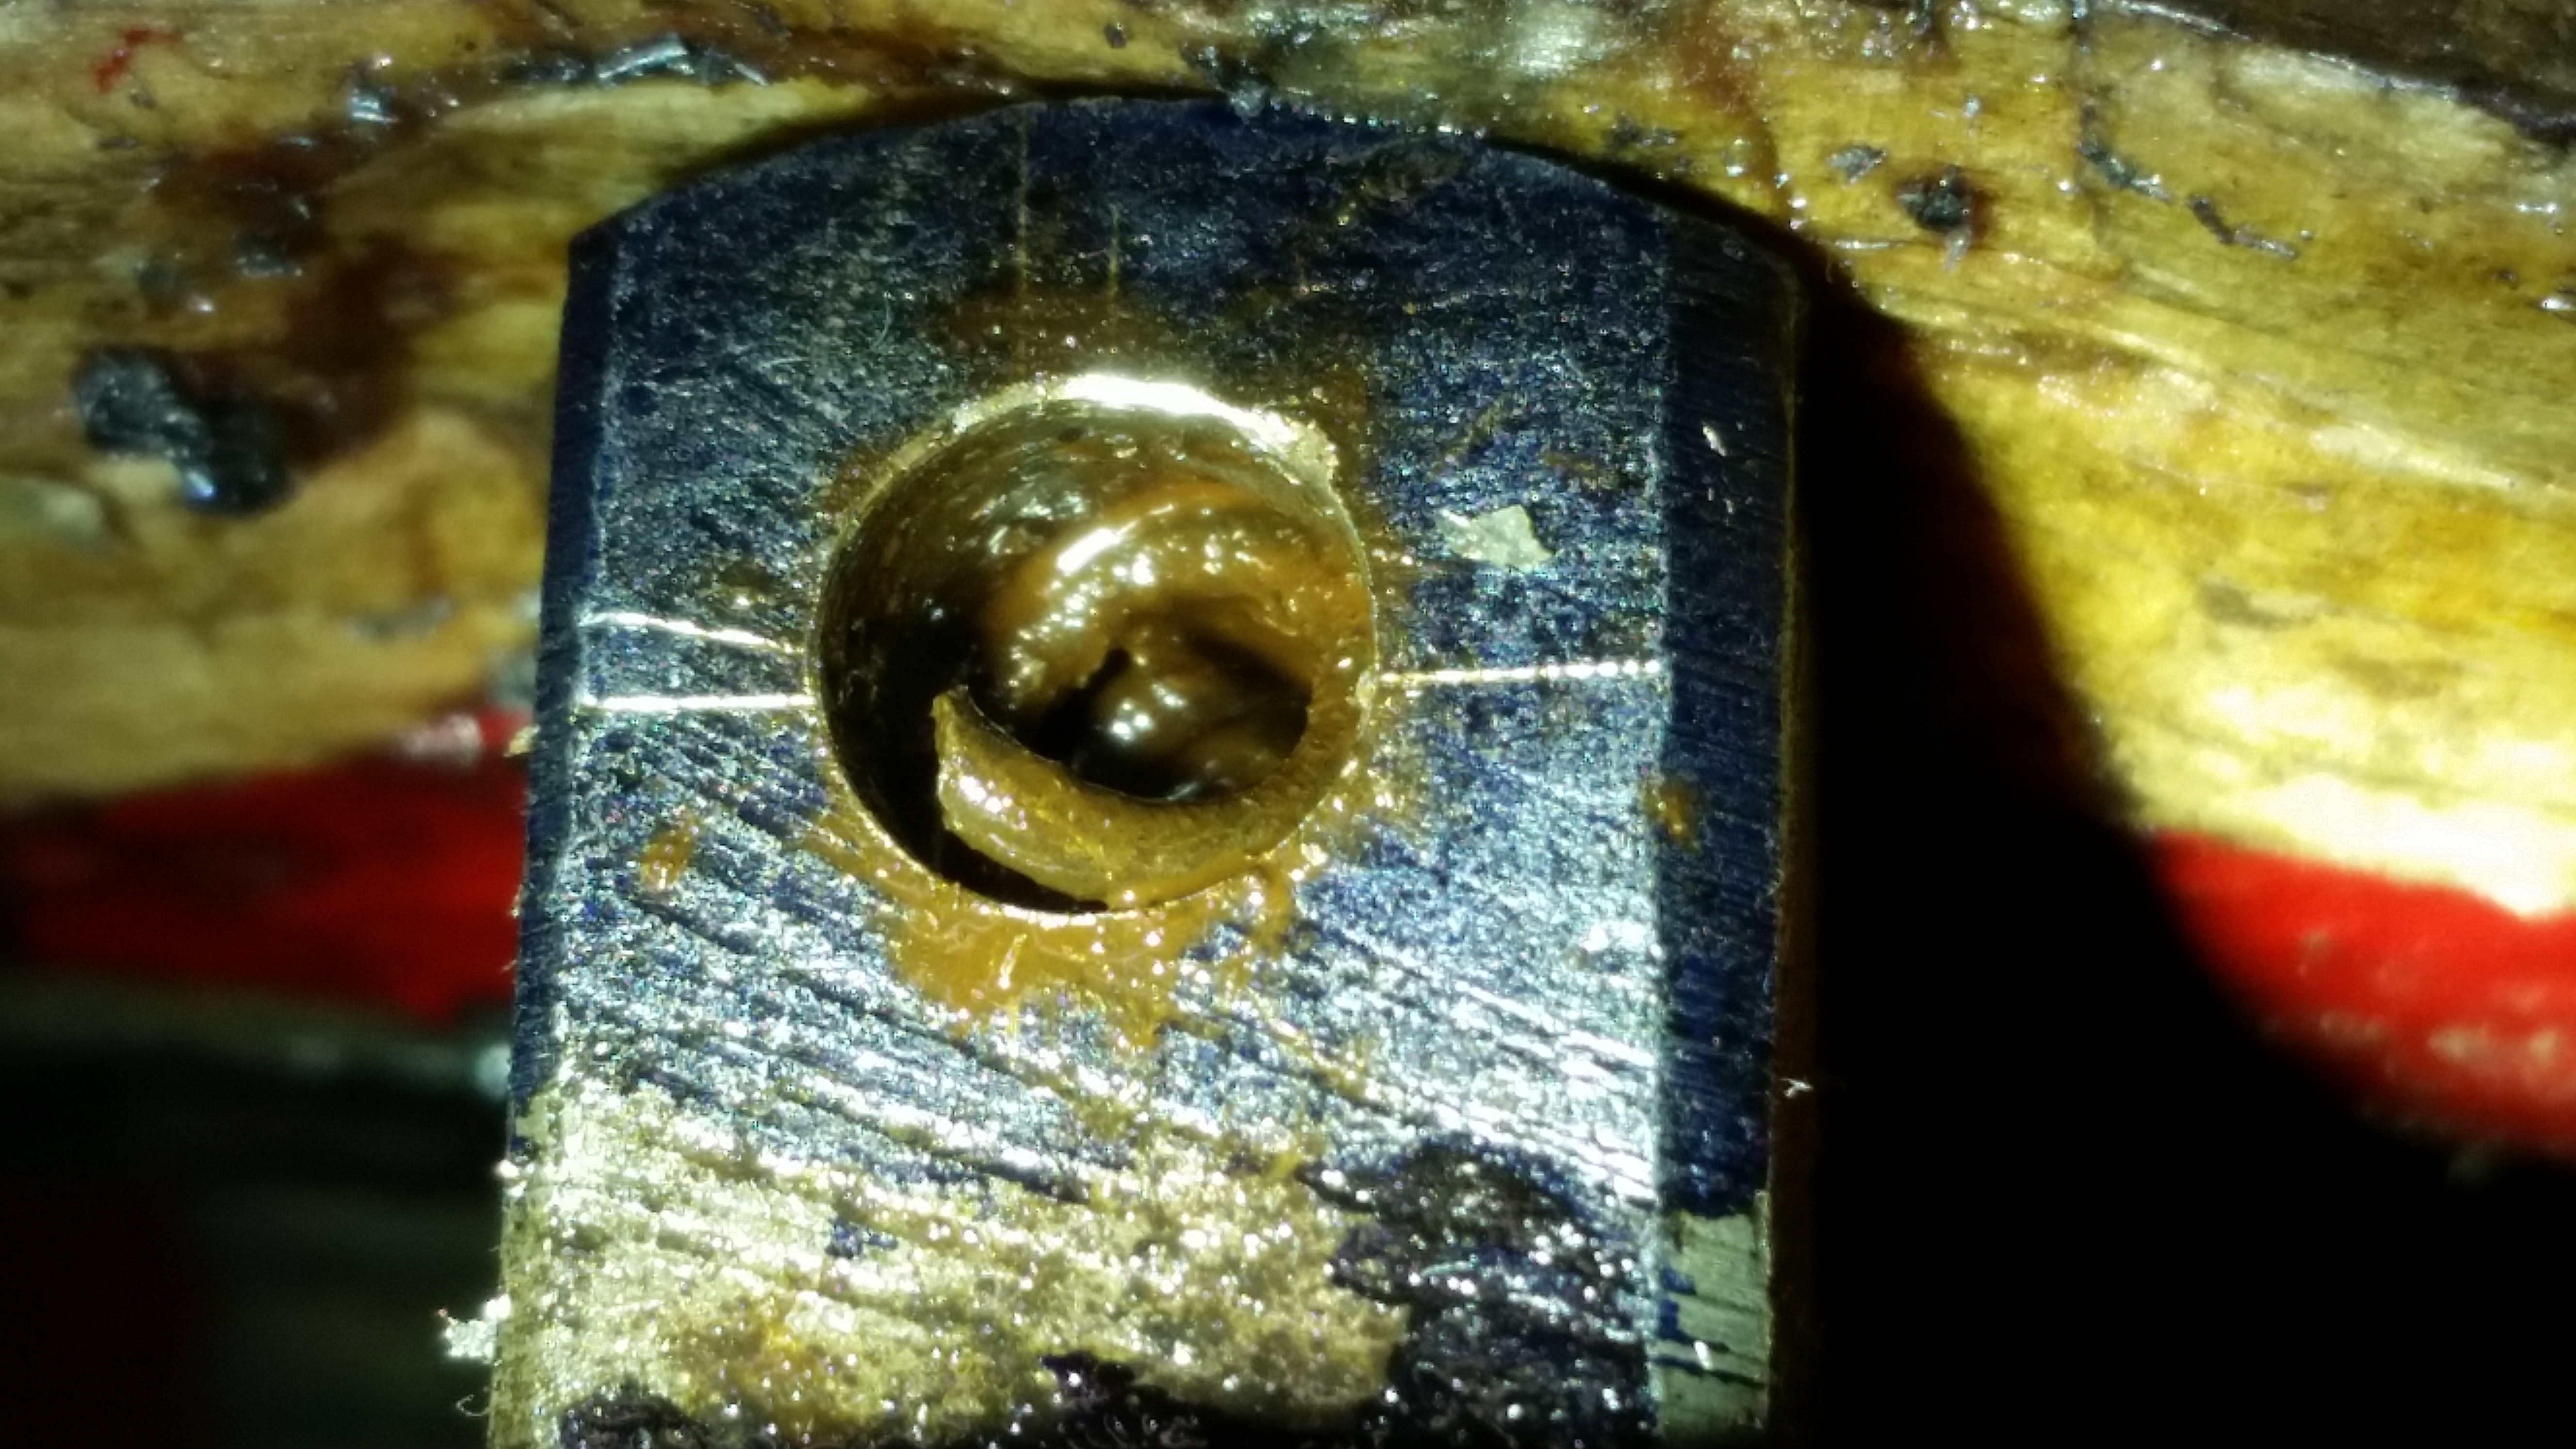
I decided to fix it. First, I drilled a #3 hole into the back of the drive square, entering the base of the cylinder that houses the spring.

Hole drilled on the opposite side from the ball opening. Part of the spring is sticking out of the hole.
I tried to mark out the center and punched it before drilling.
Using a pick, some needle nose pliers, and finally a magnet, I managed to pull out all the broken pieces of spring. The ball bearing was too large to come out the #3 hole, so it remained trapped inside.
A magnet helped pull out the little bits of spring.
Next, I tapped the hole with a vintage Craftsman Kromedge tap and a Morse tap wrench. I used a 1/4″-28 tap, and I got at least 3 or 4 good threads.

Tapped for 1/4-28 screw.
I threaded in a stainless 1/4″-28 machine screw to see how much I’d need to fill the hole. I also cut a small piece of compression spring that I thought I could fit into the hole.

Figuring out how short to cut the machine screw.
I marked the machine screw while it was threaded in. Then, I removed it and used a hacksaw to cut a slot in the end, and then cut it off to size. I made it to be about 1/16″ proud of the hole, once it was threaded in.

Machine screw cut to length and a slot sawed in the end.
I flushed out the inside of the head with solvent, cleaning off the ball. Then I placed the spring in the hole and inserted the installed the screw using an antique driver I am particularly fond of. The shape of the handle reminds me of a bee hive and the blade is particularly slim.
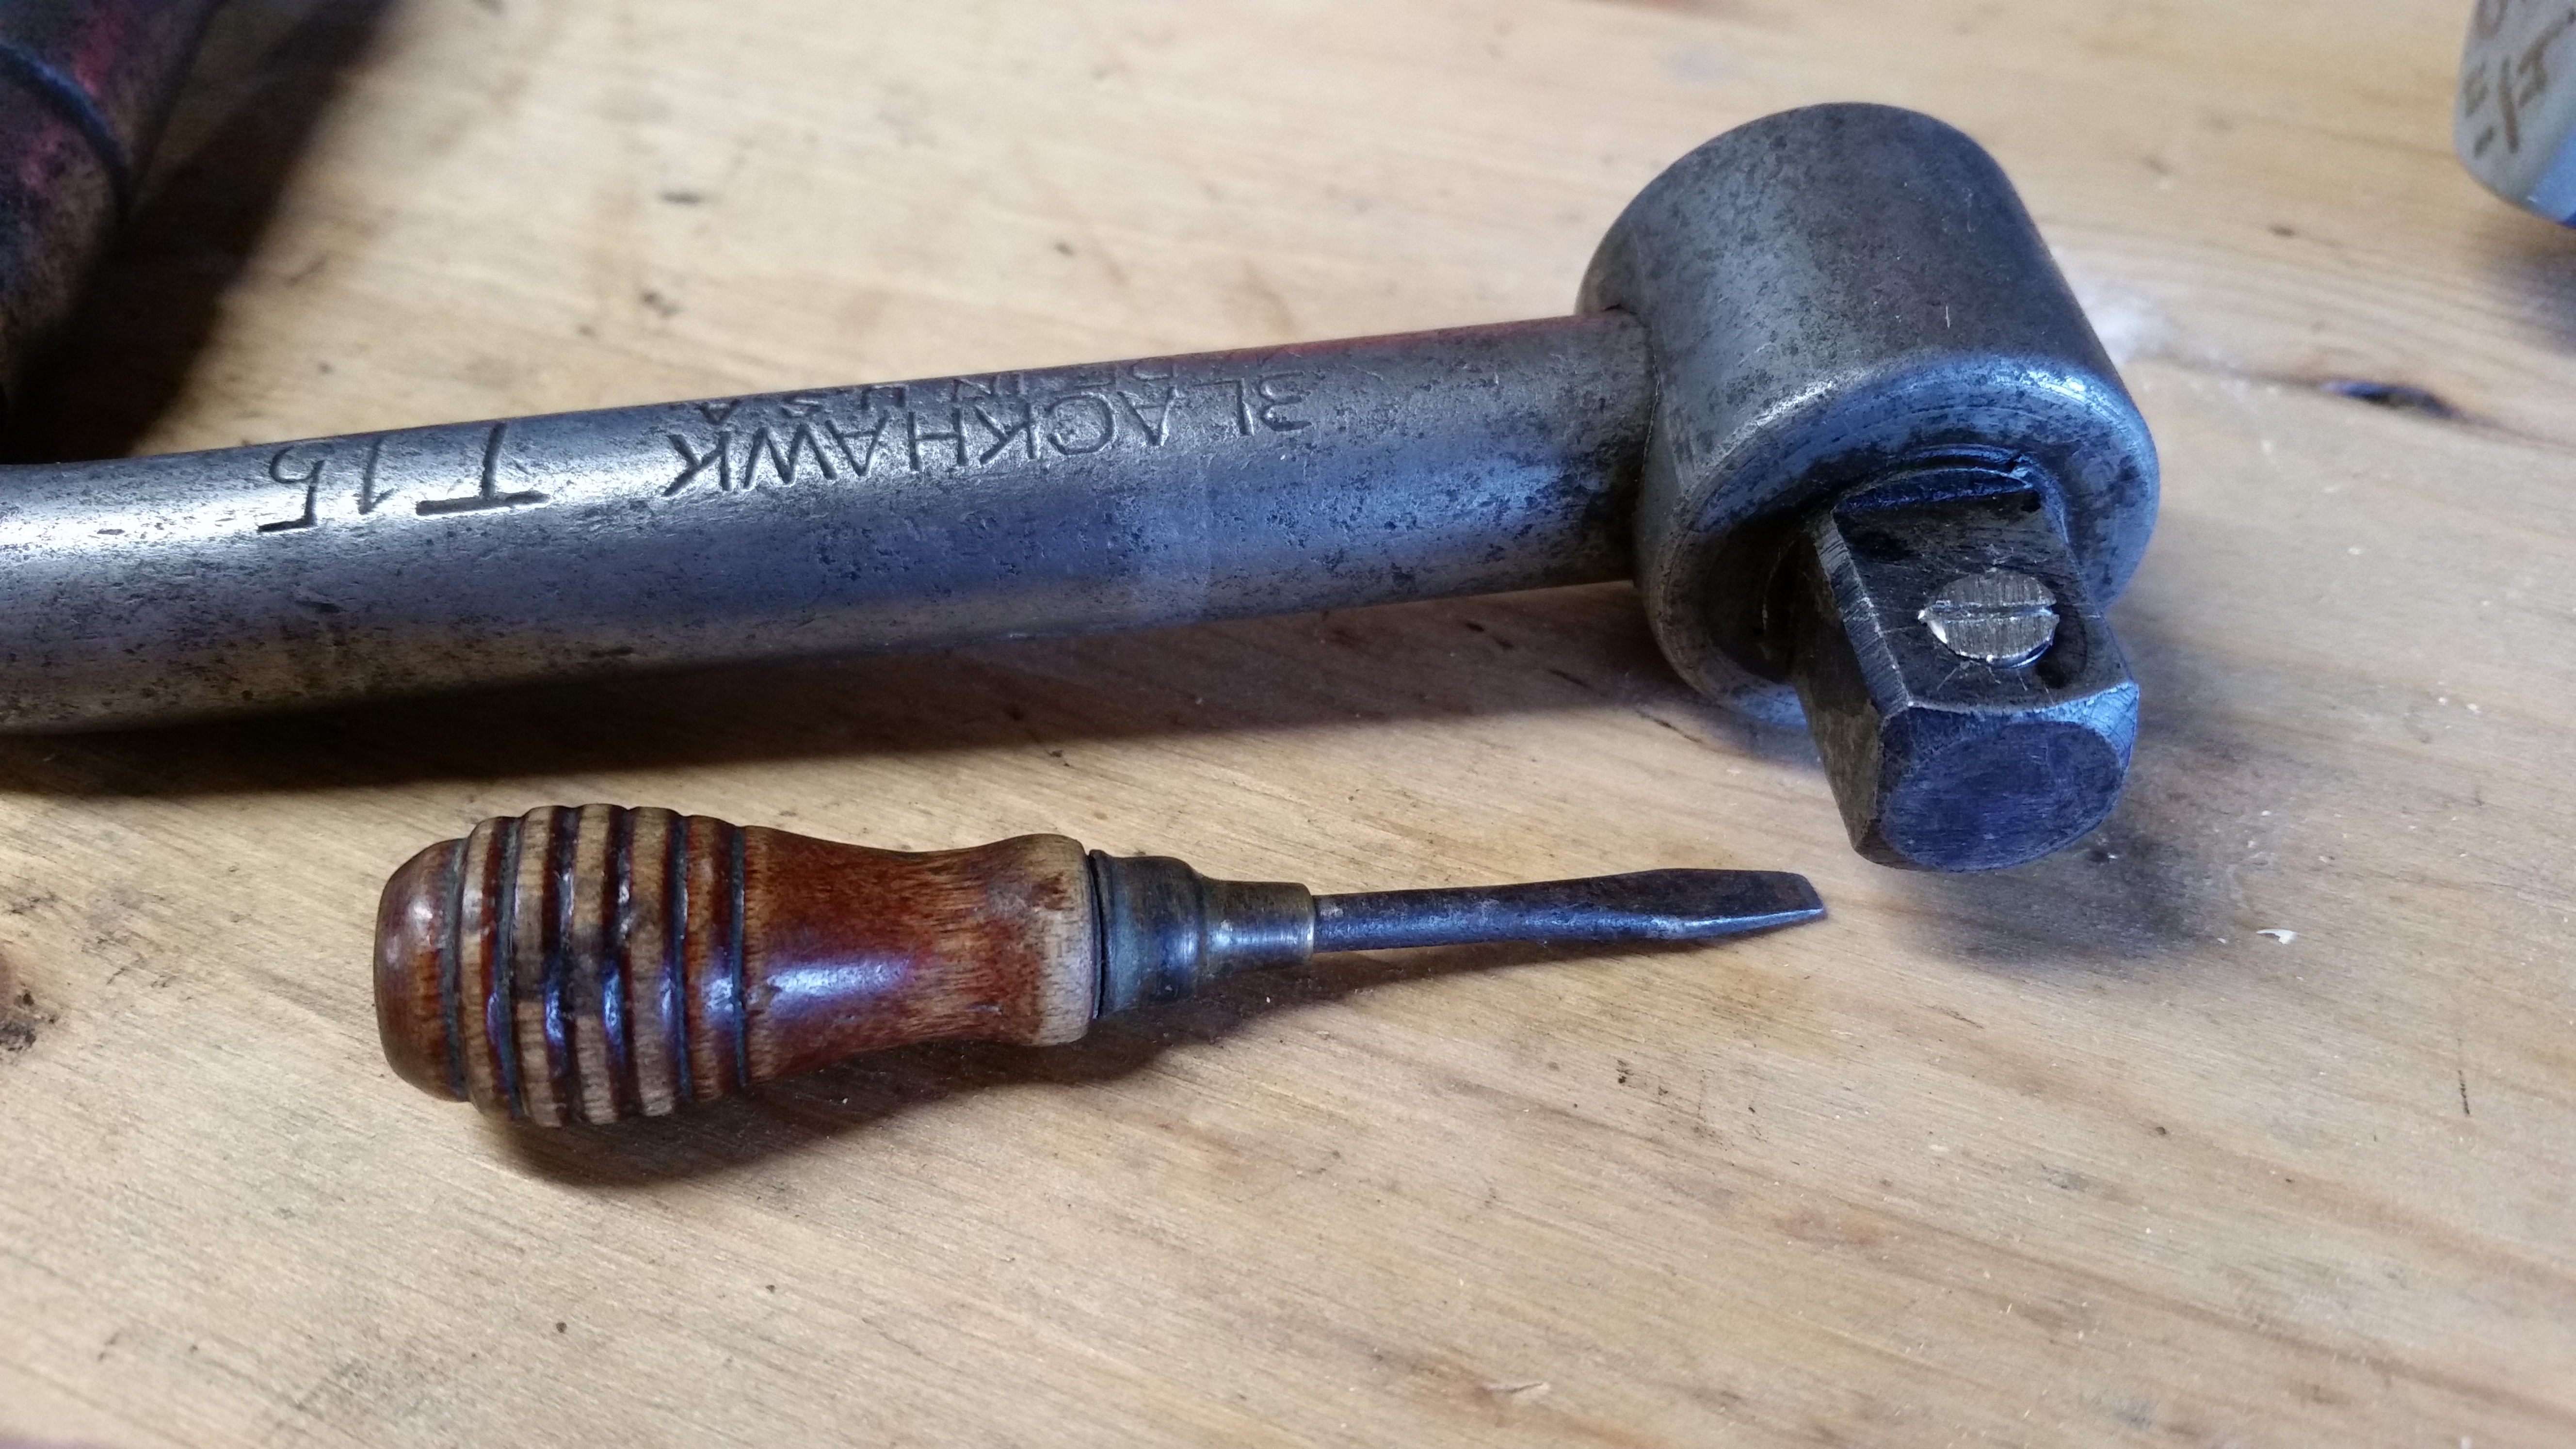
I used a small driver to install the screw.

View of the installed screw.
Using a file, I carefully smoothed down the screw to the surface of the drive head, so that it wouldn’t interfere with a socket. I left the slot because I wanted to be able to replace the spring again if necessary. It doesn’t interfere with the functionality of the handle. I could probably locktite the screw, but I don’t think it’s going anywhere.

After filing, the screw was flush.

The new spring holds the ball in place while allowing for movement.
It didn’t take a lot of work, but I was very pleased with how my repair plan worked out. The crank speeder now works like a charm, and it should be good for another 90 years of service. If the spring ever breaks again, it can now be serviced.

Blackhawk T15 1/2″ Drive Crank Speeder Handle

The ball detent now properly holds a heavy socket on the drive head.

Blackhawk T15 1/2″ Drive Crank Speeder Handle. I also restored that antique cast iron file handle.


Leave a Reply